
The last few months I had the pleasure to work on a solution for an academic hospital. The hospital needed a solution where their researchers could easily spin up workspaces (virtual machines with pre-installed tools), work in a secured way with data and provide the tools to manage resources, budget and users. Next to that they also wanted to have the possibility to create a global data catalog that can be used in a secured and manageable way.
We provided following functionality via a proof of concept:
- Having a secure, on-demand and traceable solution for data processing.
- Scalability of research environments for different workloads
- An easy to use platform
- Keep track of budget with capabilities to notify, report and stop resources if needed
- User management
- Data management via approval workflows
- Possibility for a global secured data catalog
The solution consists out of 3 major parts:
- Web application: A Single Page Application written in Angular, secured via the Azure AAD, with an easy to use interface for researchers or the I.T. department.
- Data Request Bot: The data request bot, is based on the Microsoft Bot Framework, this is written in C#, and currently uses the teams channel as client, this is used to manage data requests in an easy and interactive way.
- Backend Api: The Web API is written in .NET Core, secured via the Azure AAD. and provides all the data for the Web Application and the Bot. This application is deployed in an App Service Environment (ASE), which means it is a fully isolated and dedicated environment for secure data management.
This solution has been created with the help of some amazing Microsoft colleagues and hospital employees. So special thanks to Mathieu, Ruben, Ralph, Koen, Huib, Ariaan and everybody else!
Workspaces
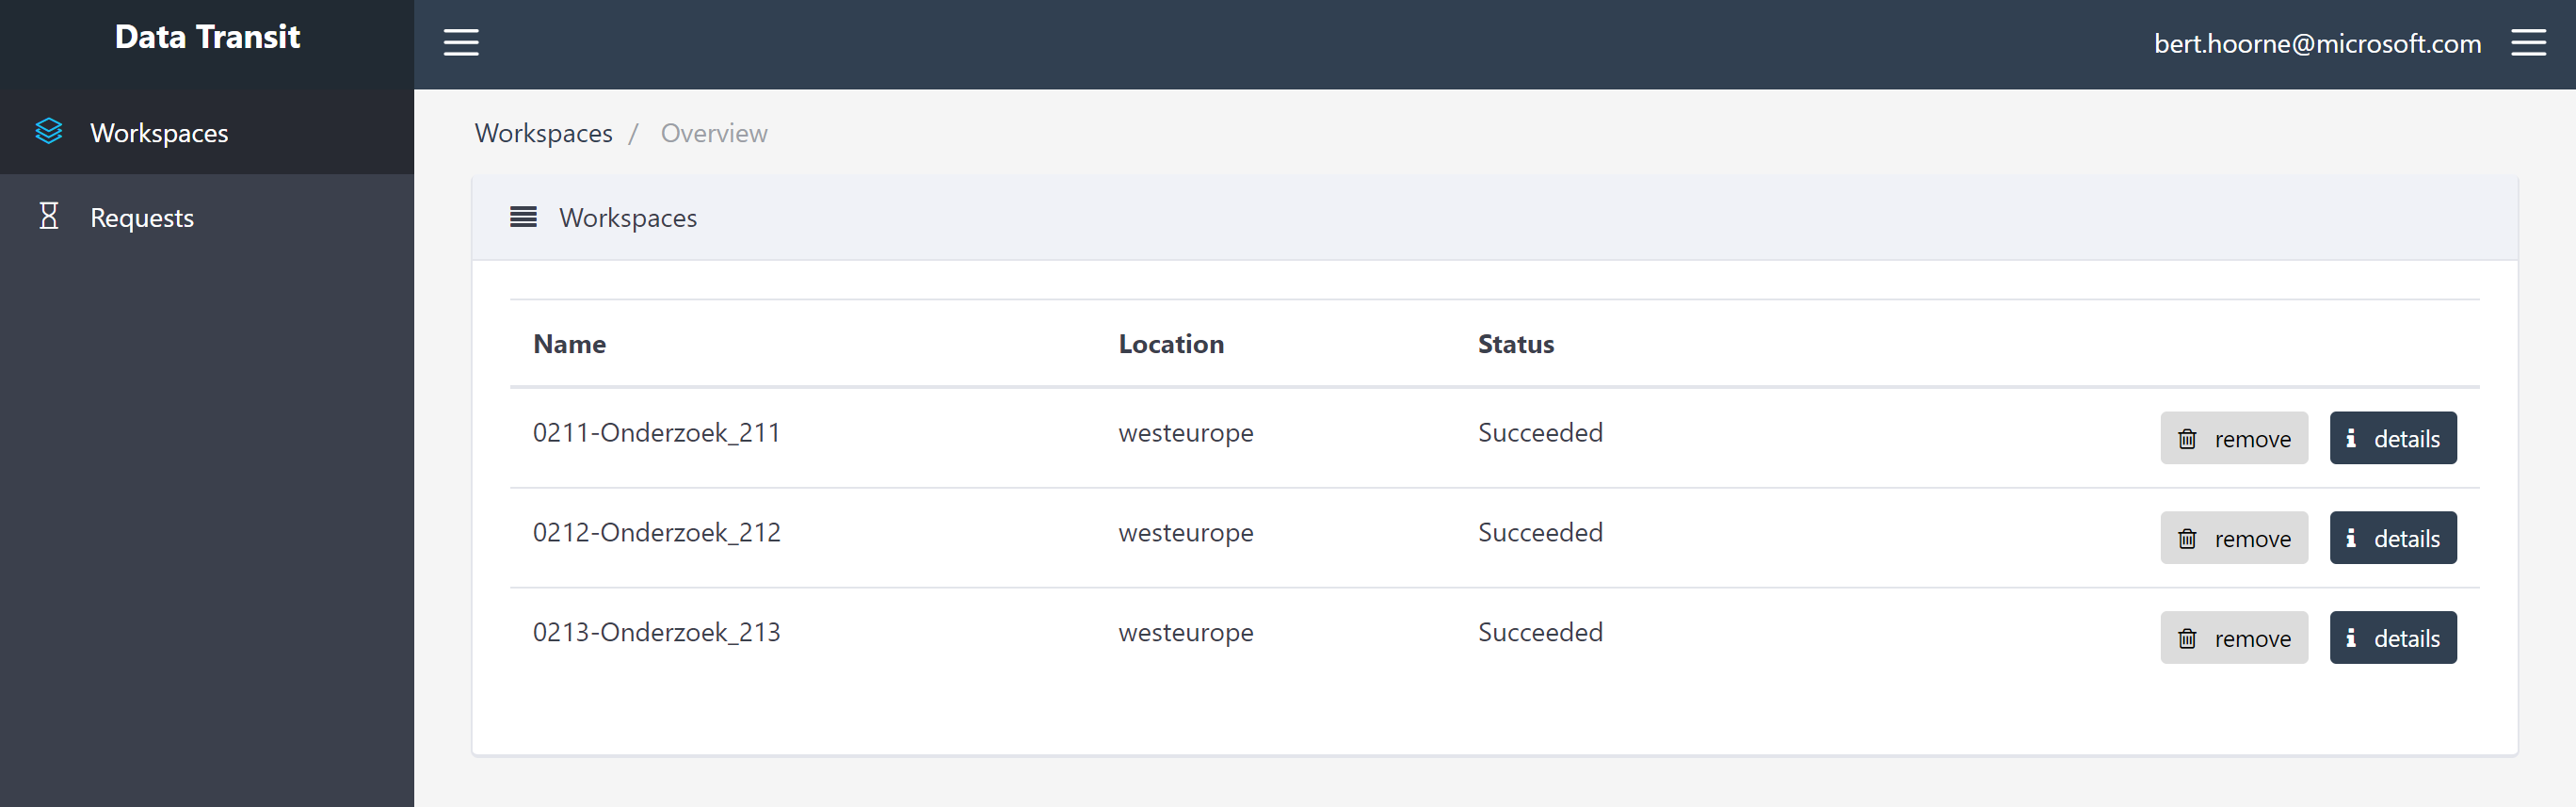
When a user is successfully authenticated, they will be redirected to the portal, with an overview of the available workspaces.
A workspace is a working environment for a research team. Every workspace has the capability to:
- Upload or request access to files
- Manage users
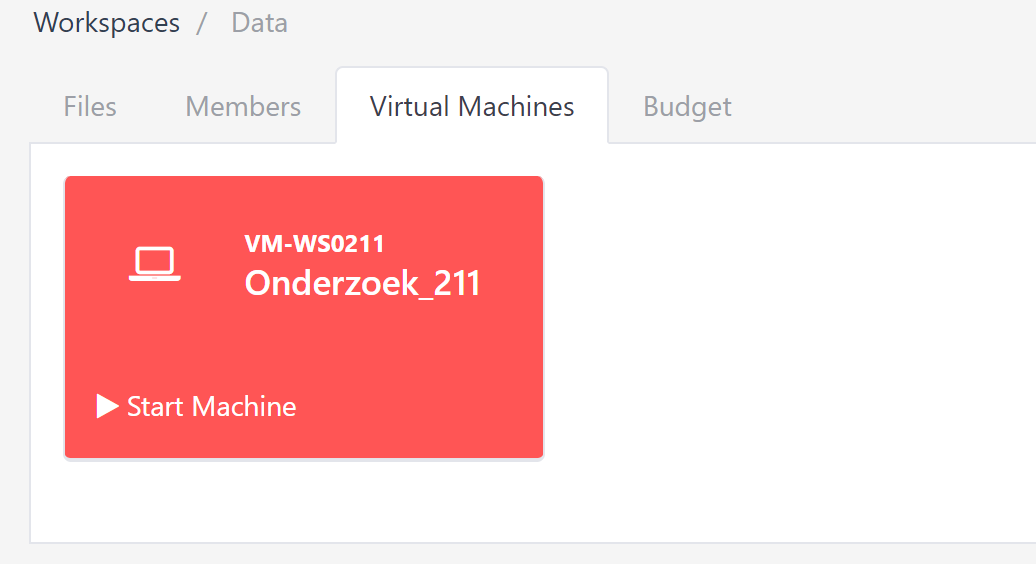
- Start, stop and see that status of Virtual Machines
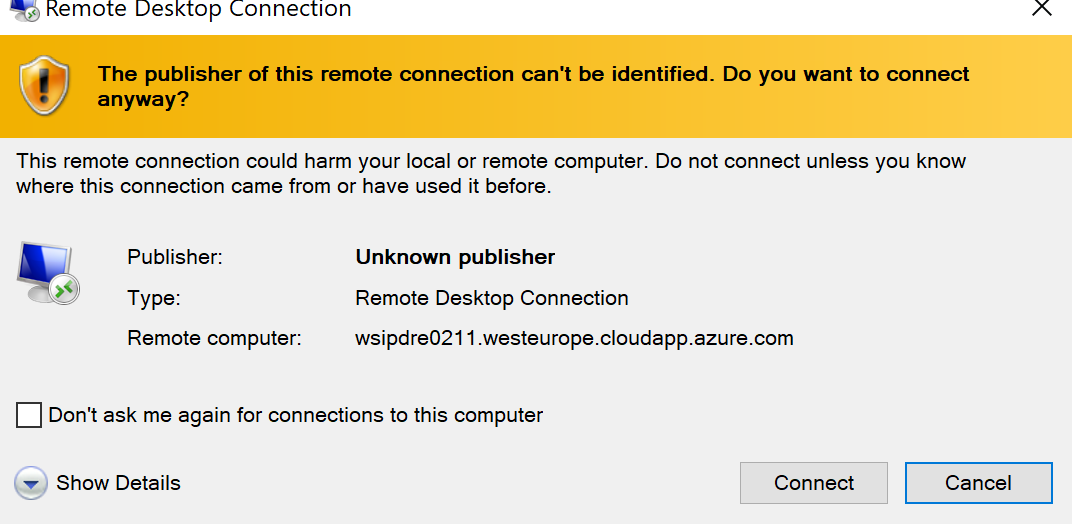
- Open Virtual Machines via RDP files
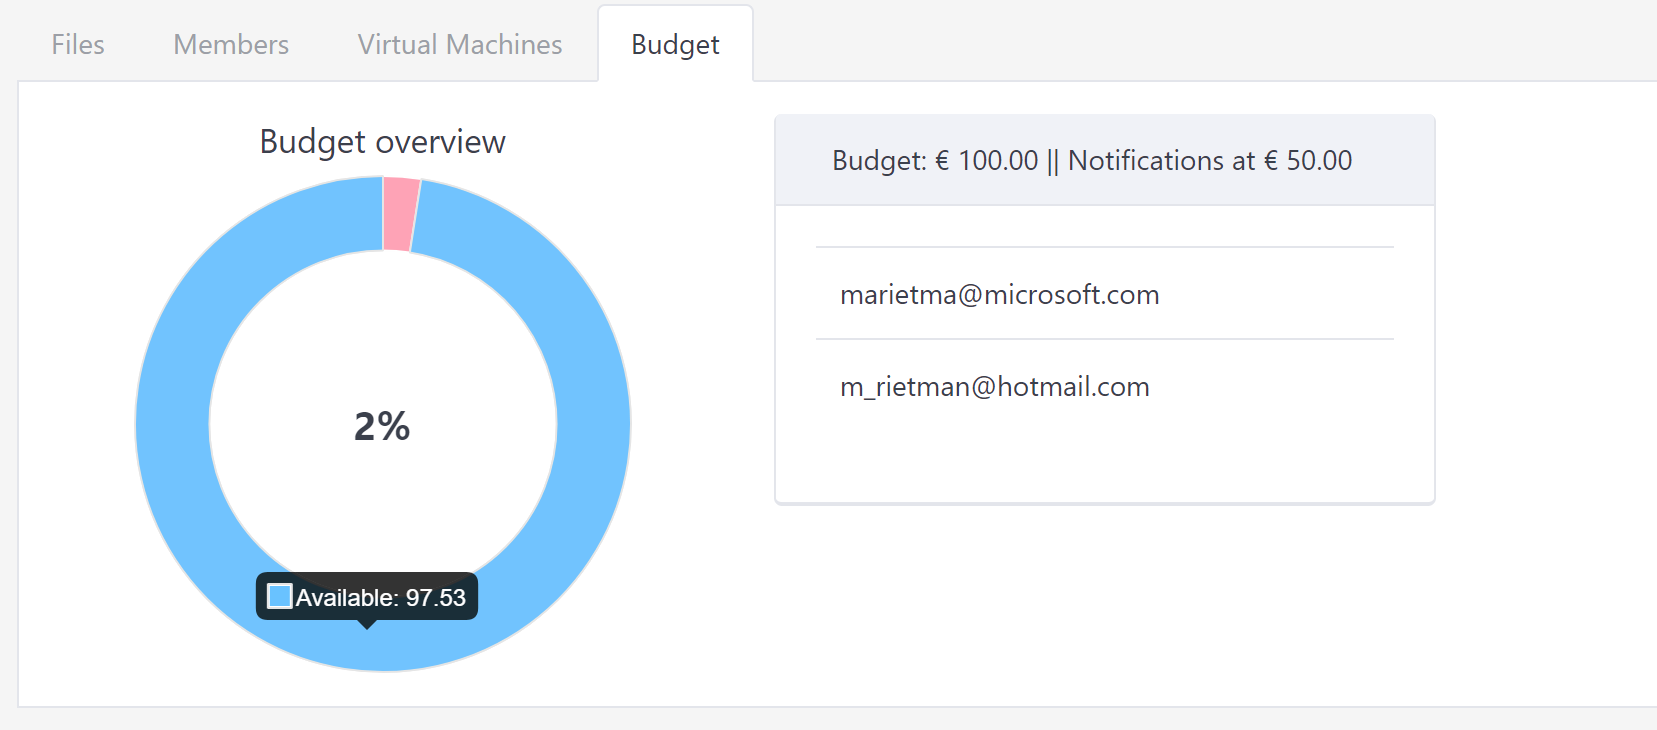
- Have a Budget overview
Via the web portal, researchers will see workspaces as following:
Workspace Details
Each workspace has a storage account, which contains the data, this is only accessible via the V-Nets of the Virtual Machines or via the V-Net of the Backend Api.
The data cannot be accessed from the portal or tools like storage explorer.
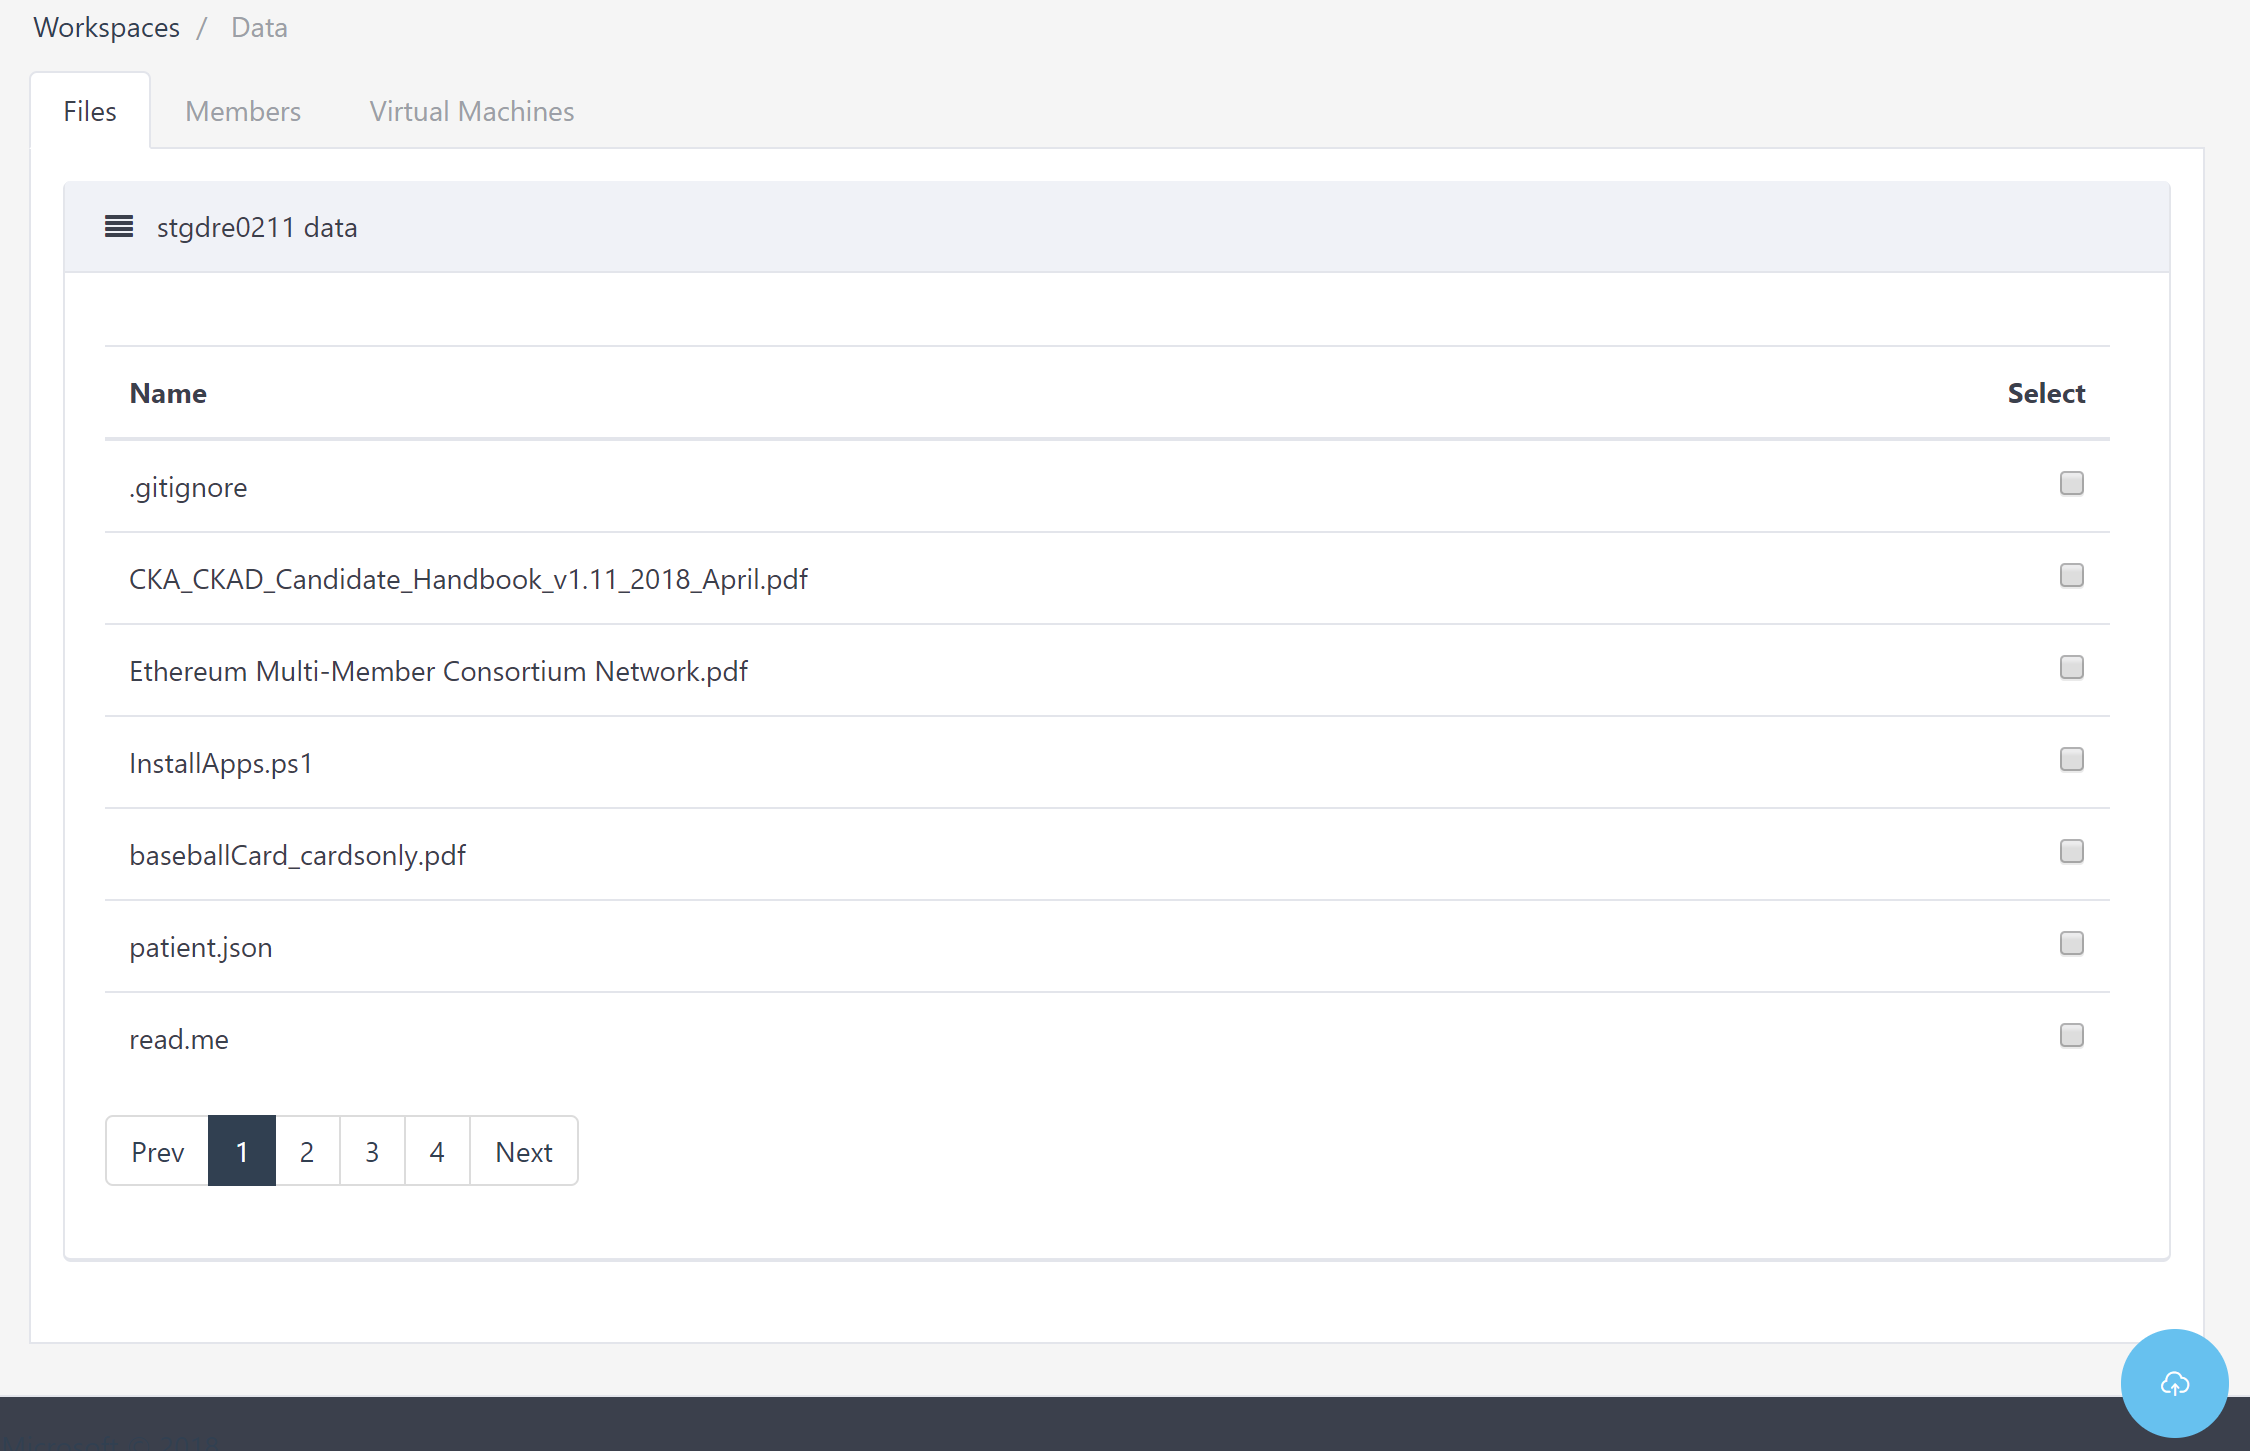
Via the upload button, users can upload files to the workspace.
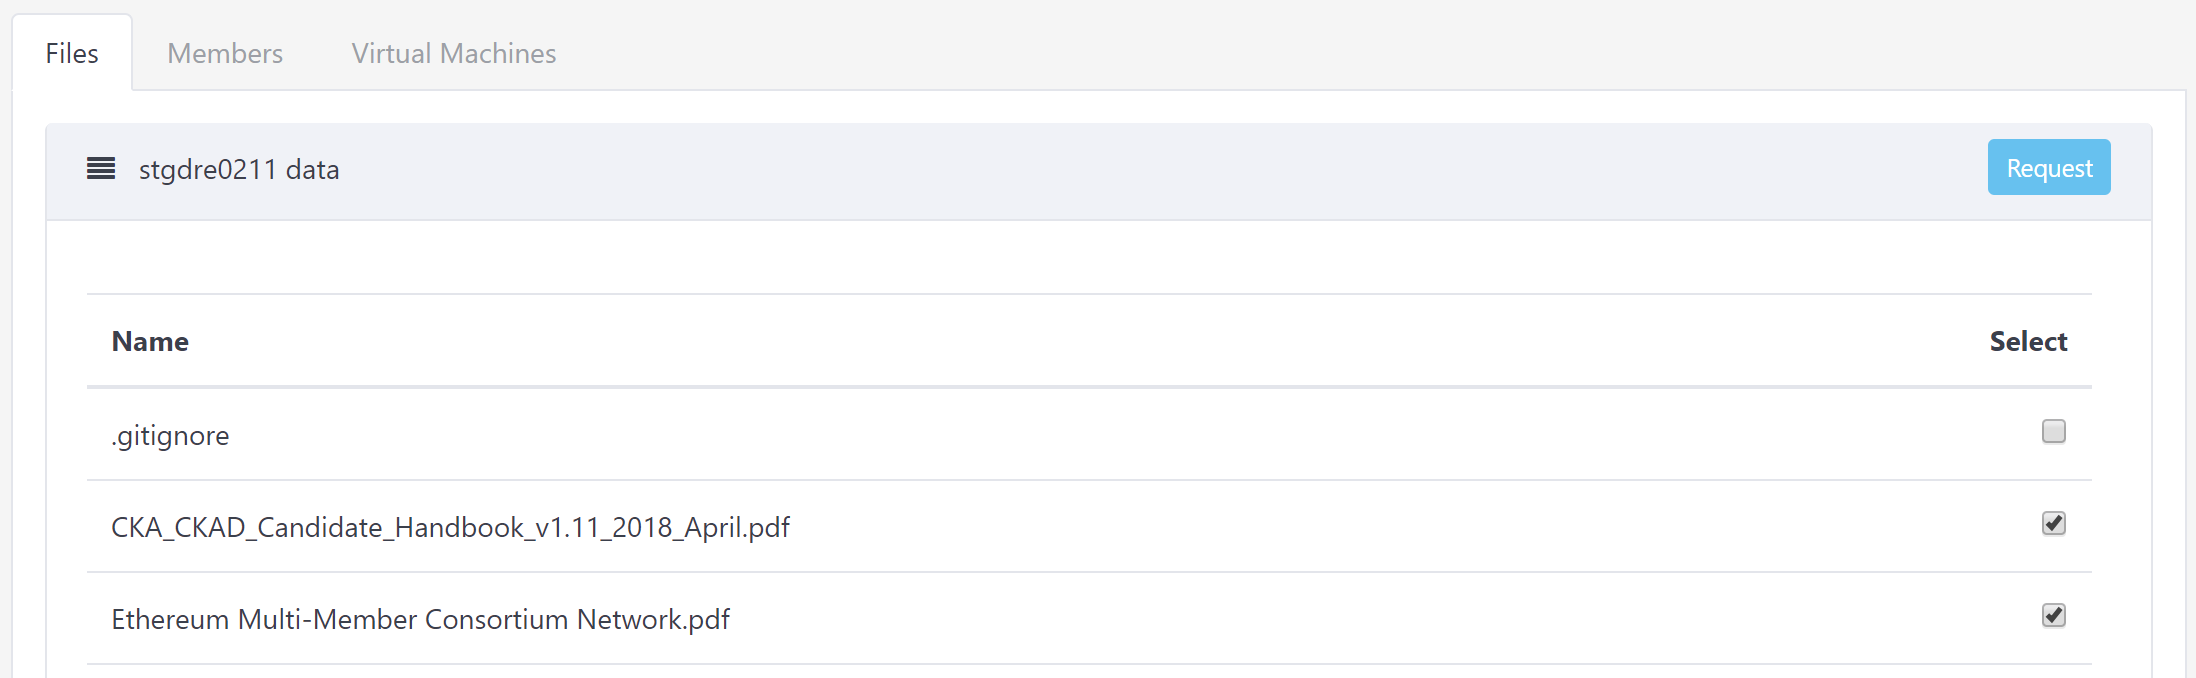
When users want to download or view files, they will first need to have permission from the owner of the workspace. This can be done by requesting access from the owner. A user can request access by selecting the files and click on the request button
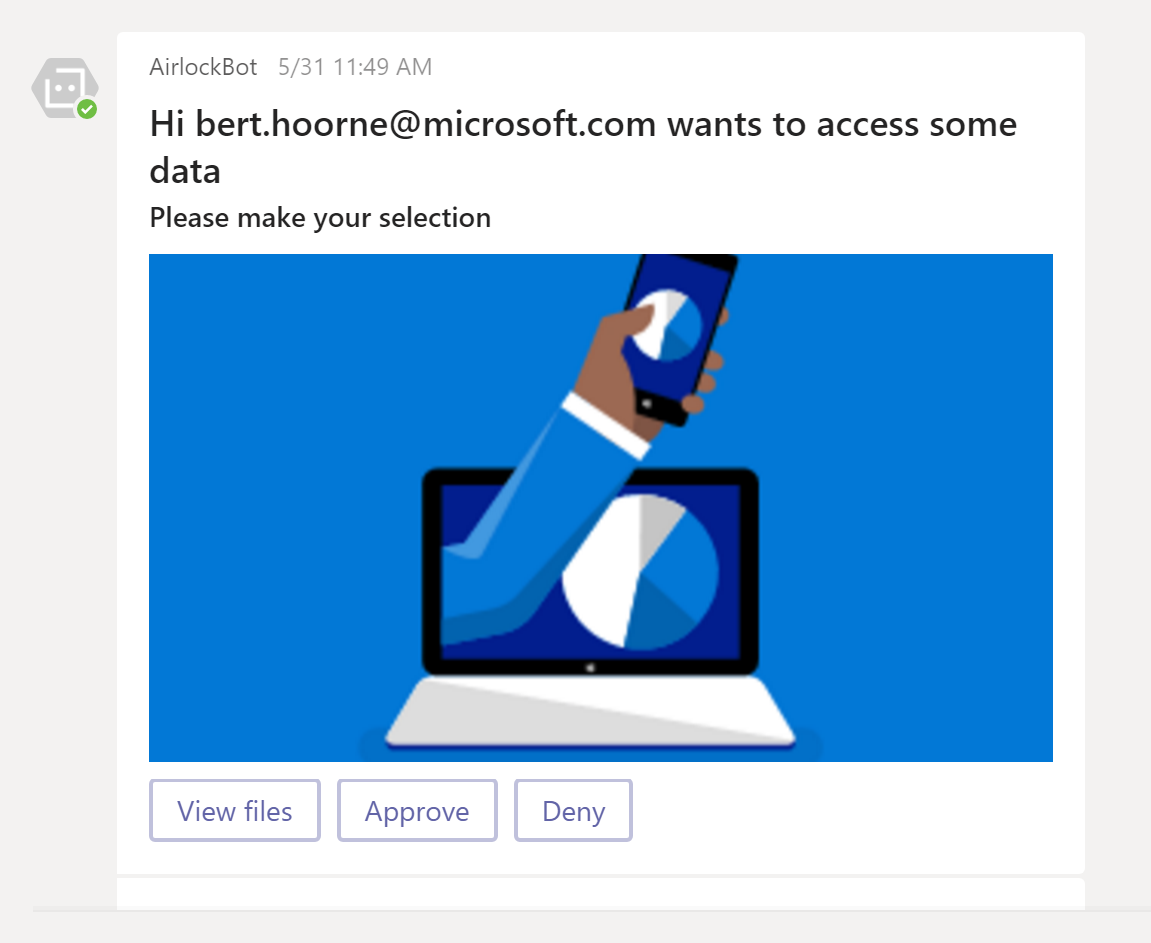
When a user request files, the owner of the workspace will get a notification from a bot in teams:
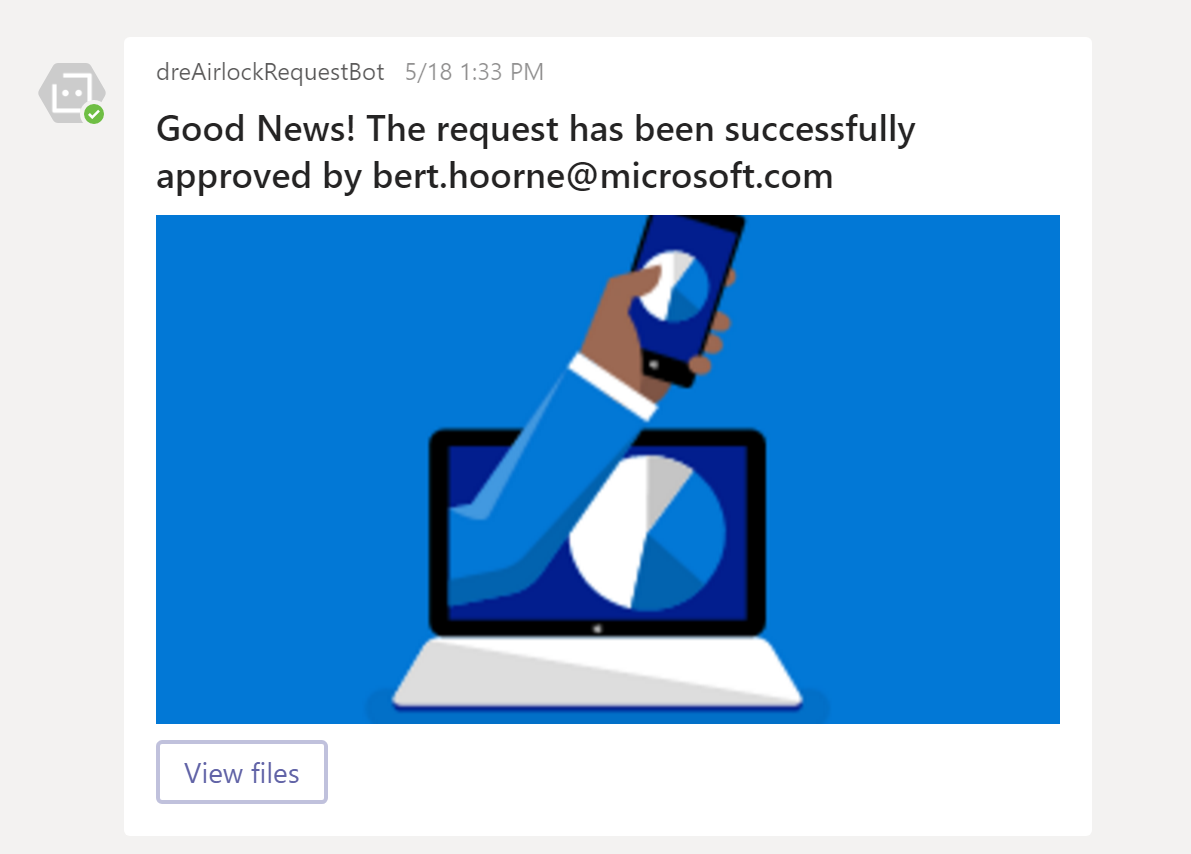
When the owner approves the request, the requester will get a notification from a bot in teams:
This scenario can also be handled via e-mail.
Data Requests
Via the Requests tab, requesters and approvers can view the data requests. A data request can have three different statuses:
Pending: When a data request is pending, the requester cannot view the files, he or she can only delete the request.
Approved: When the data request is approved, the requester can view the files, download them or use the files in their virtual machine.
Denied: When the data request is declined, the requester can only see the request in the portal, but cannot access the data.
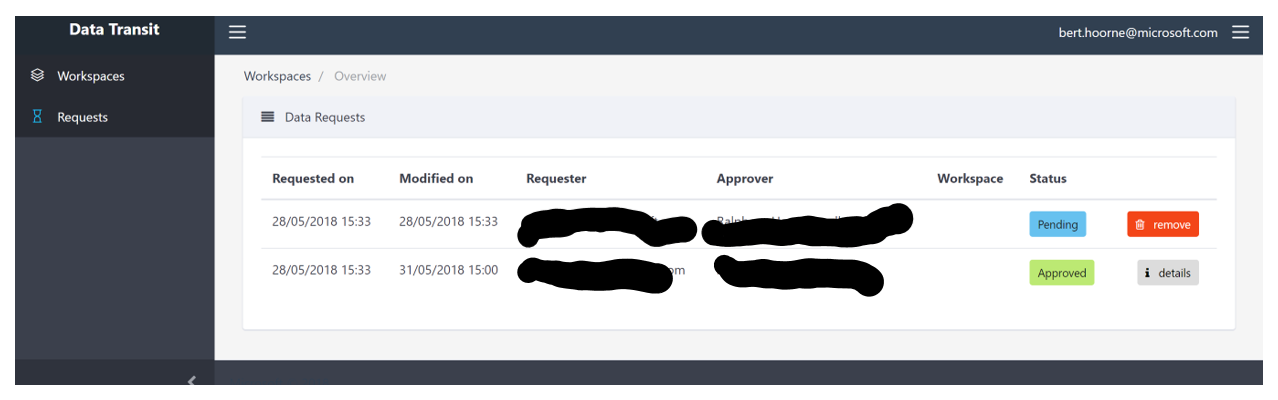
When the request has been approved, the requester can view the details of a data request and can download it via the portal.

Members
Every workspace will get a custom group assigned. This group will initially contain the owner of the workspace, the owner can then add researchers to the environment.
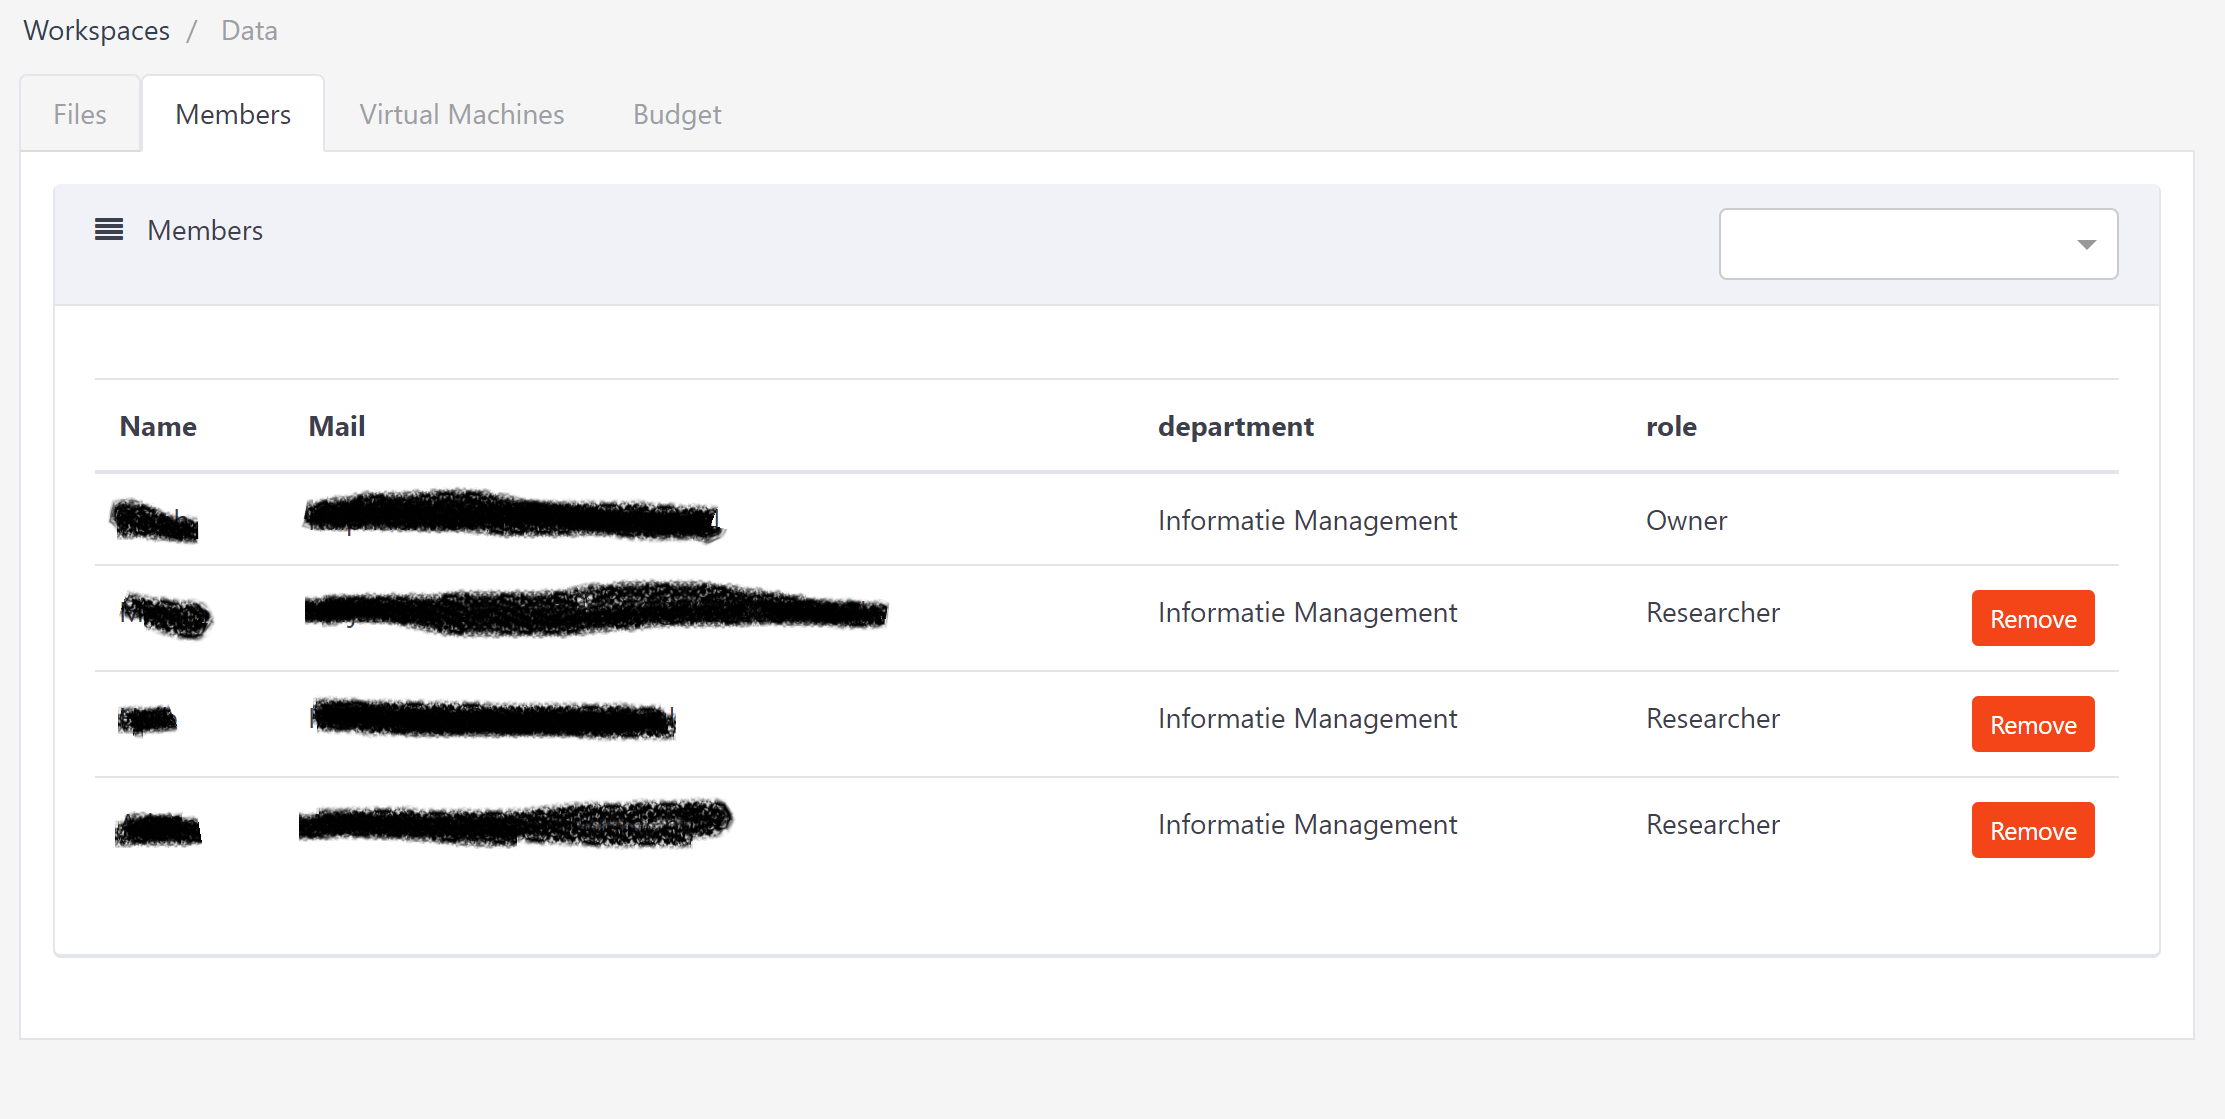
Members can be removed or can be added by querying the Azure Graph (AAD)

Virtual Machines
A workspace can contain one or more Virtual Machines, these Virtual Machines are assigned to one or more researchers. Every Virtual Machine has their own custom pre-installed environments, this can be a Python environment, R, SQL, …
A virtual machine has the connections pre-configured for their storage account.
This is all configured when creating the workspace.
Status
The researcher can see the status of the VM (Started, Stopped, Starting, Stopping)
When a Virtual Machine is stopped, the researcher can start it from the portal via the Start Machine button.
When the virtual machine is started, the researcher can stop the Virtual machine inthe portal.

When the researcher clicks on the virtual machine, they will receive a Remote Desktop Connection file, so they can connect to the Virtual Machine
Budget
The portal also contains budget functionality.
When creating a workspace, a budget will be assigned to the workspace, where researchers can see how much they already have spent.
Researchers will get notifications at certain budget tresholds. If the budget has been depleted, an automated task will be executed and stop all resources in that workspace.
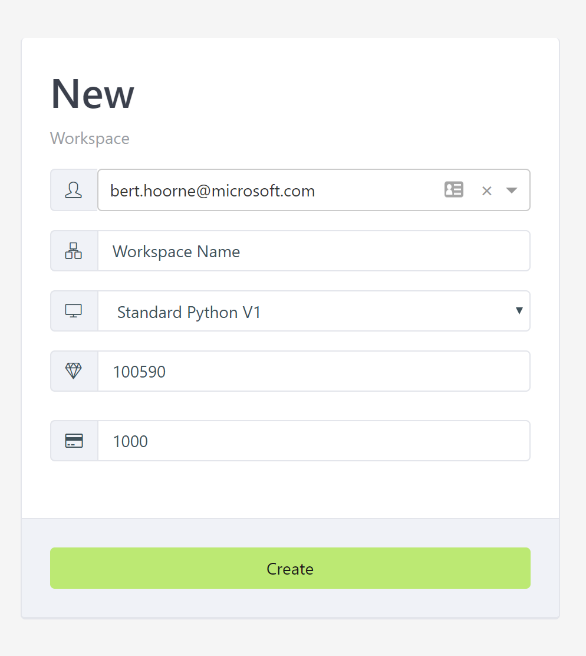
Creating a workspace
Users with the correct rights have the capability to create a workspace.
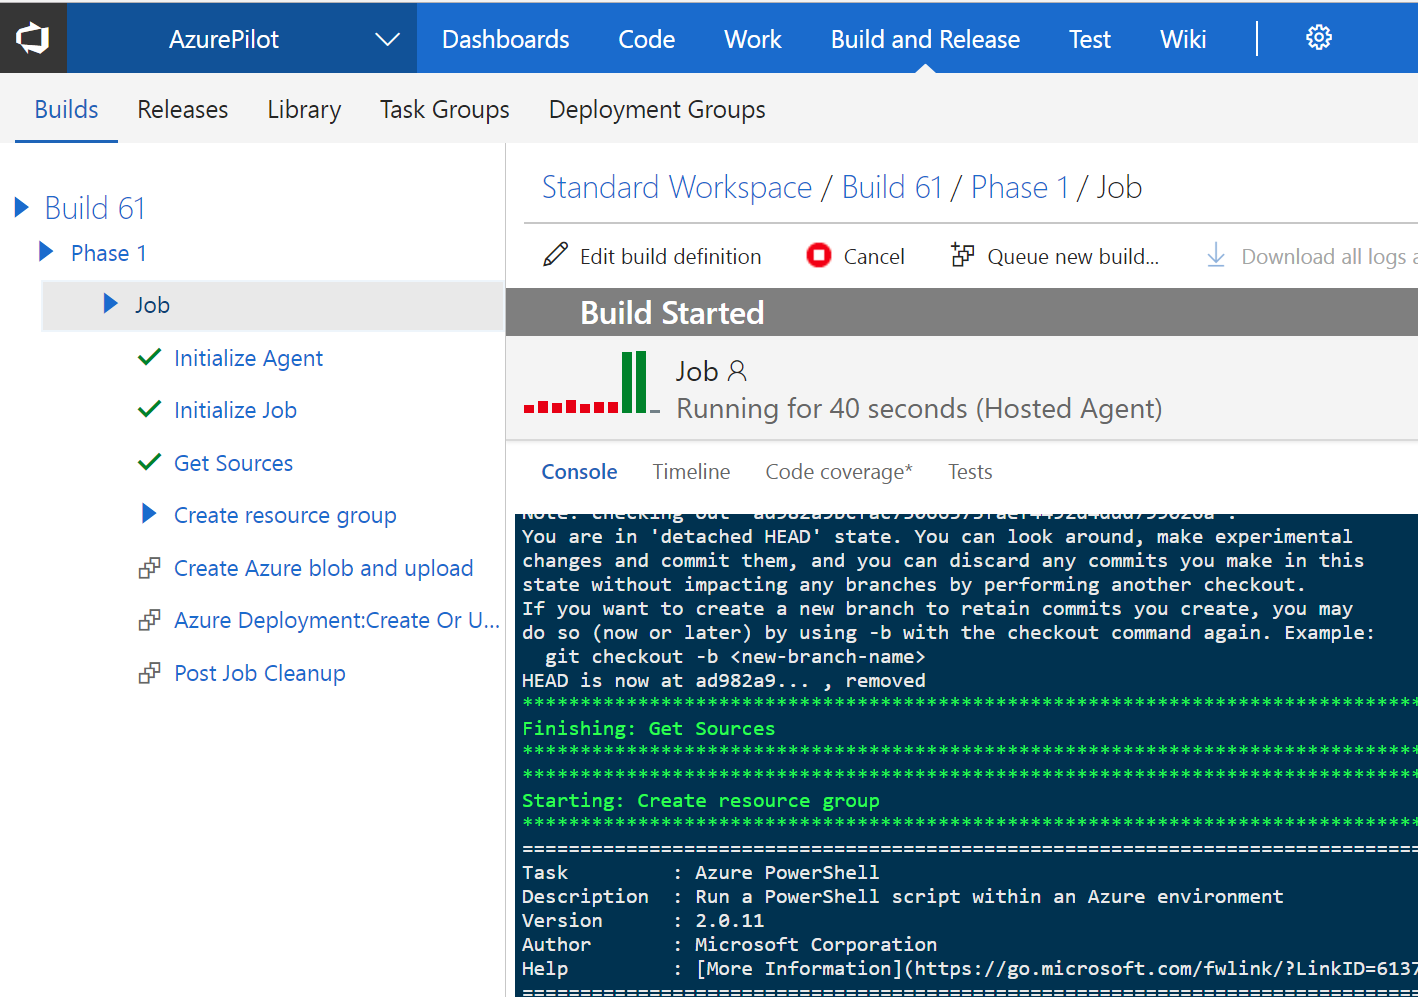
When creating a workspace, an ARM template is being deployed from a Visual Studio Team Services release build. This build creates all the needed resources and configuration such as:
- Virtual Machines,
- Virtual Machine extensions.
- Connections to the secured storage accounts
- Budget limits and notifications
- An AAD group with the specified owner
Workspaces are being created by a release build in Visual Studio Team Services
Power Bi Dashboard
The Power BI dashboard has extensive reporting, with filter options such as:
- Cost Overview Dashboard
- Cost per Cost Center
- Cost per Workspace
- …
Some examples of these dashboards

A technical overview of the solution
And finally a technical overview of the solution
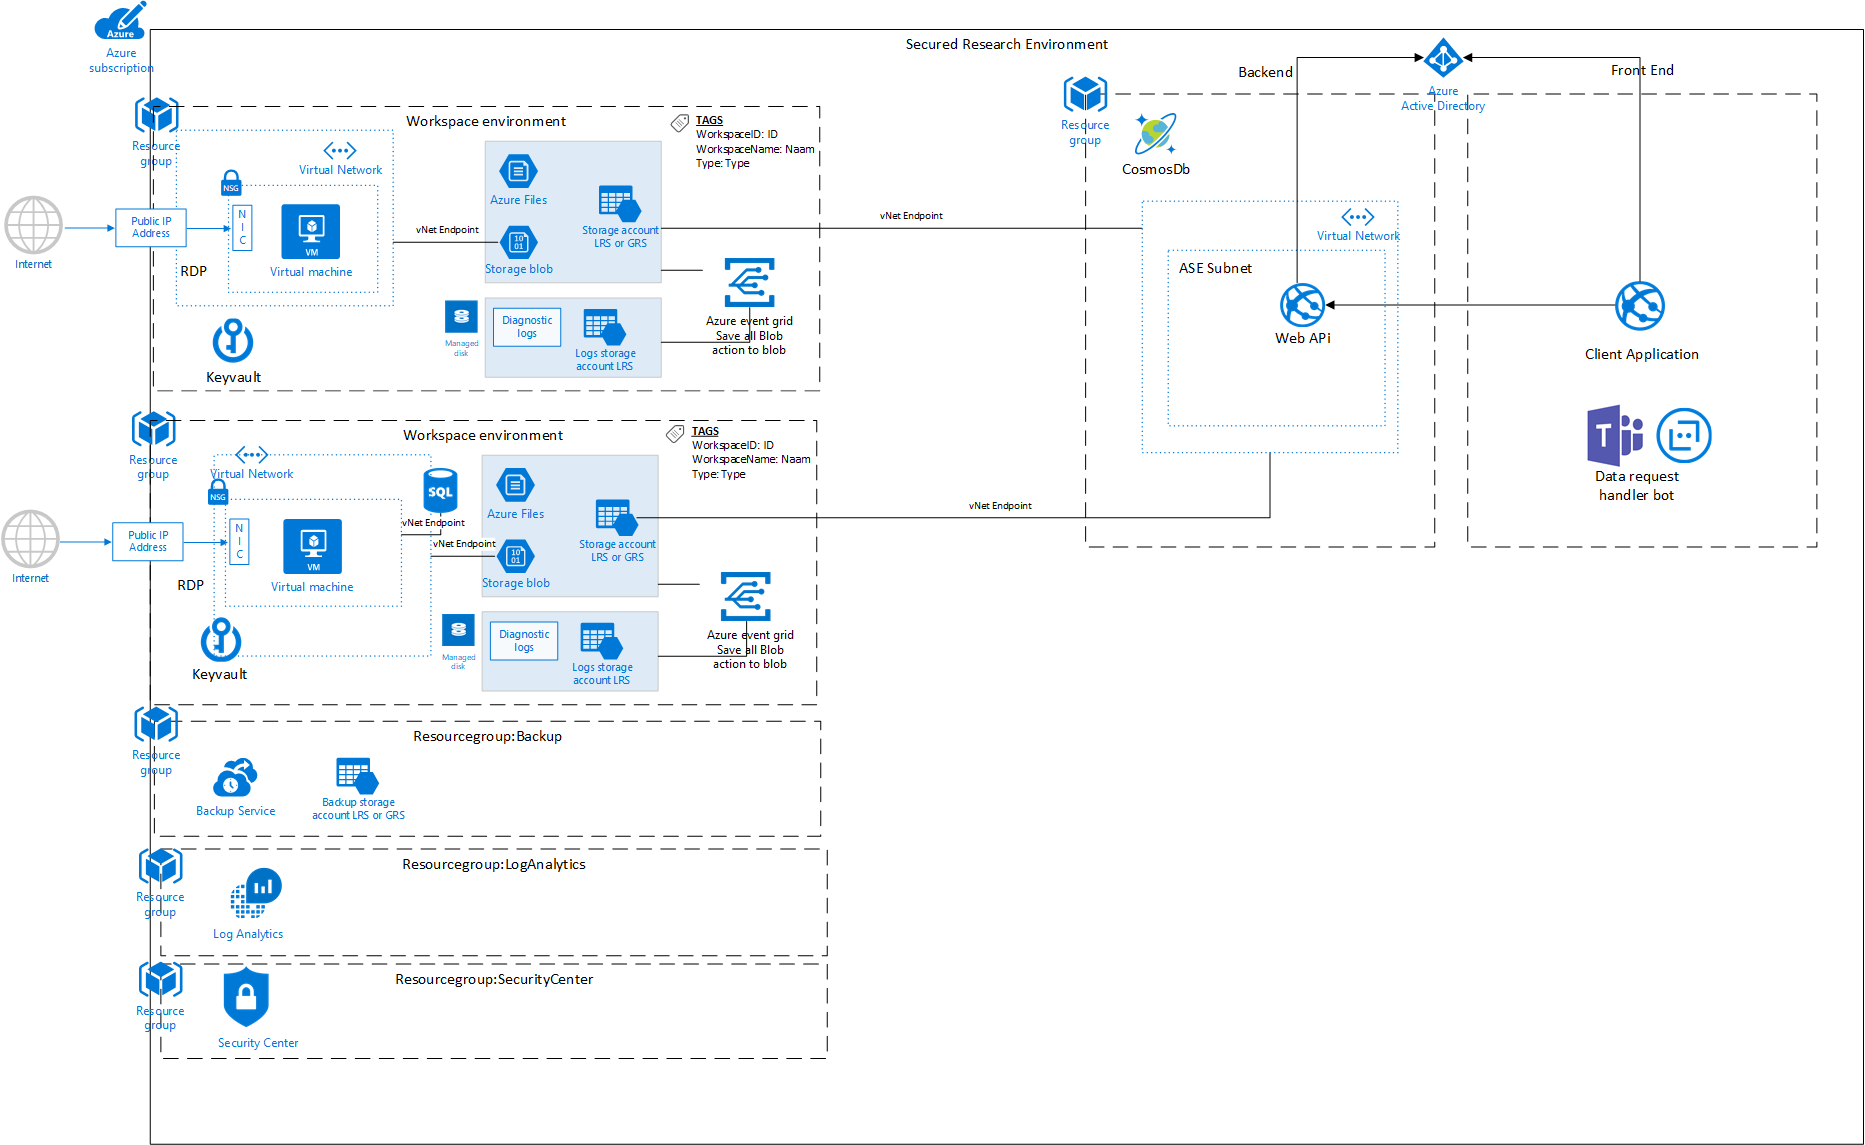
This proof of concept can easily be deployed in other Azure subscriptions, don’t hestiate to contact me for more information or questions.
Happy Coding!